- Welcome
- Getting started
- Latest updates
- Foundations
-
Components
- Accordion
- Alert
- Alignment
- App Search Modal
- Aria live
- Autosuggest
- Badge
- Banner alert
- Bar chart
- Blockquote
- Bottom navigation
- Bottom sheet
- Breadcrumb
- Breakpoint
- Button
- Calendar
- Card
- Card list
- Card button
- Carousel
- Checkbox
- Chip
- Chip group
- Code
- Content cards
- Data Table
- Datepicker
- Description list
- Dialog
- Divider
- Drawer
- Field Set
- Flare
- Flat list
- Flight leg
- Floating action button
- Floating notification
- Form label
- Form validation
- Graphic promotion
- Horizontal navigation
- Icon
- Image
- Image Gallery
- Infinite scroll
- Info Banner
- Inset Banner
- Link
- List
- Map
- Mobile scroll container
- Modal
- Navigation bar
- Navigation Tab Group
- Nudger
- Overlay
- Page indicator
- Pagination
- Panel
- Phone input
- Picker
- Popover
- Price
- Progress bar
- Radio button
- Rating
- Rating Bar
- Scrollable calendar
- Search Modal
- Section header
- Section list
- Select
- Skeleton
- Skip link
- Slider
- Snackbar
- Snippet
- Spinner
- Split input
- Star rating
- Swap Button
- Switch
- Table
- Text
- Text input
- Theming
- Ticket
- Toast
- Tooltip
- Touchable native feedback
- Touchable overlay
- Search Input Summary
- Content
- Accessibility
- Contributing
- Localisation
Overlay
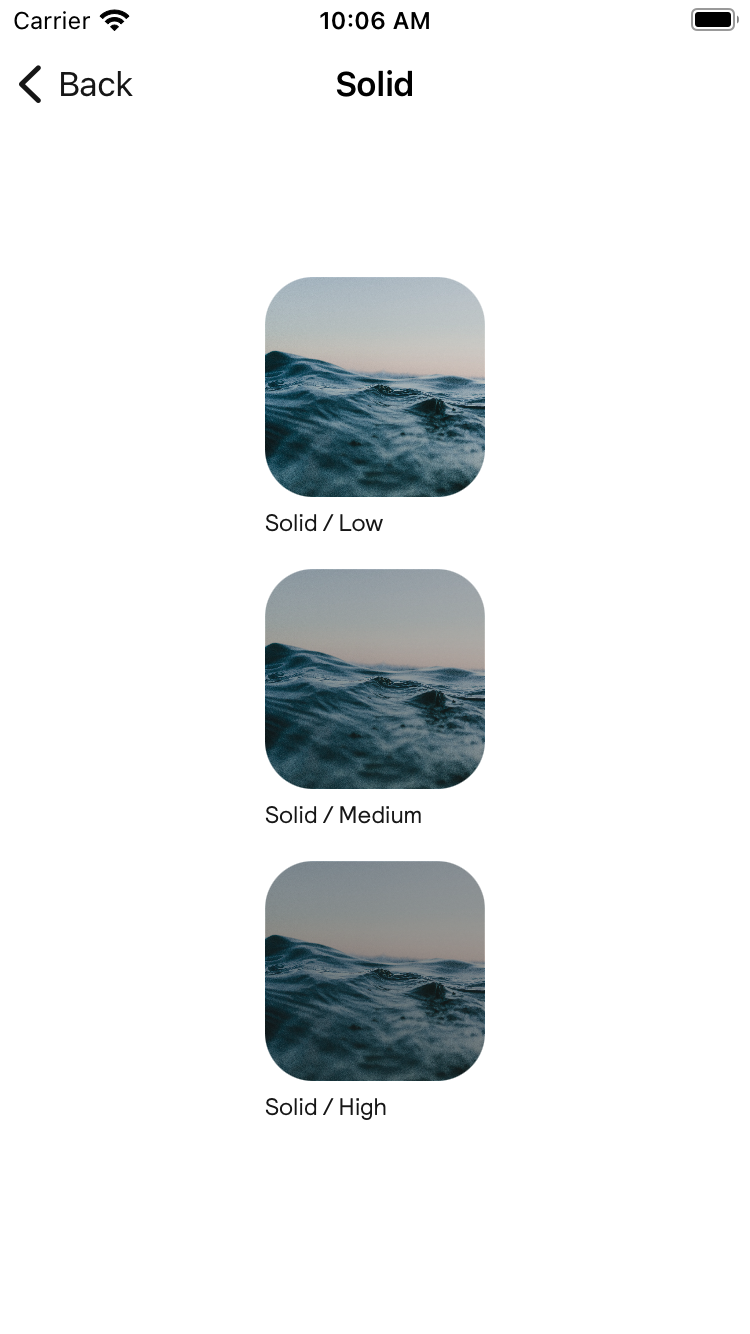
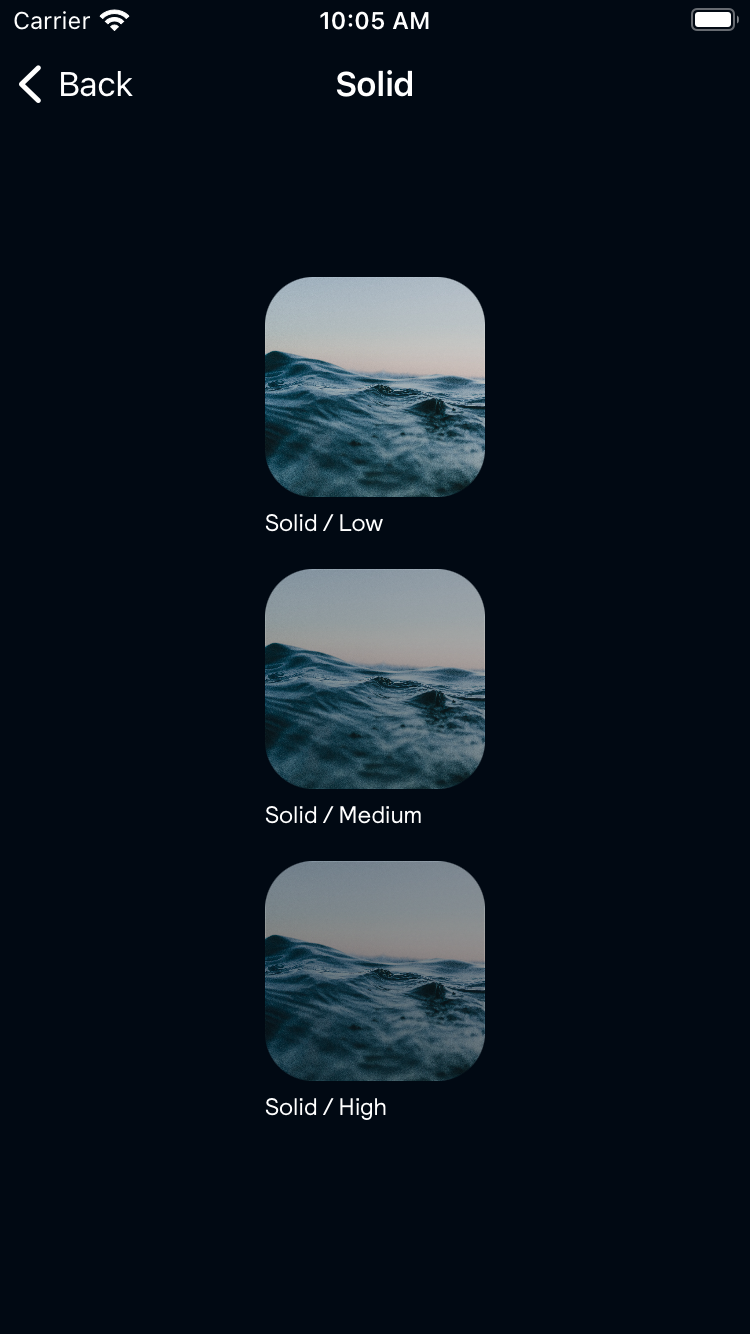
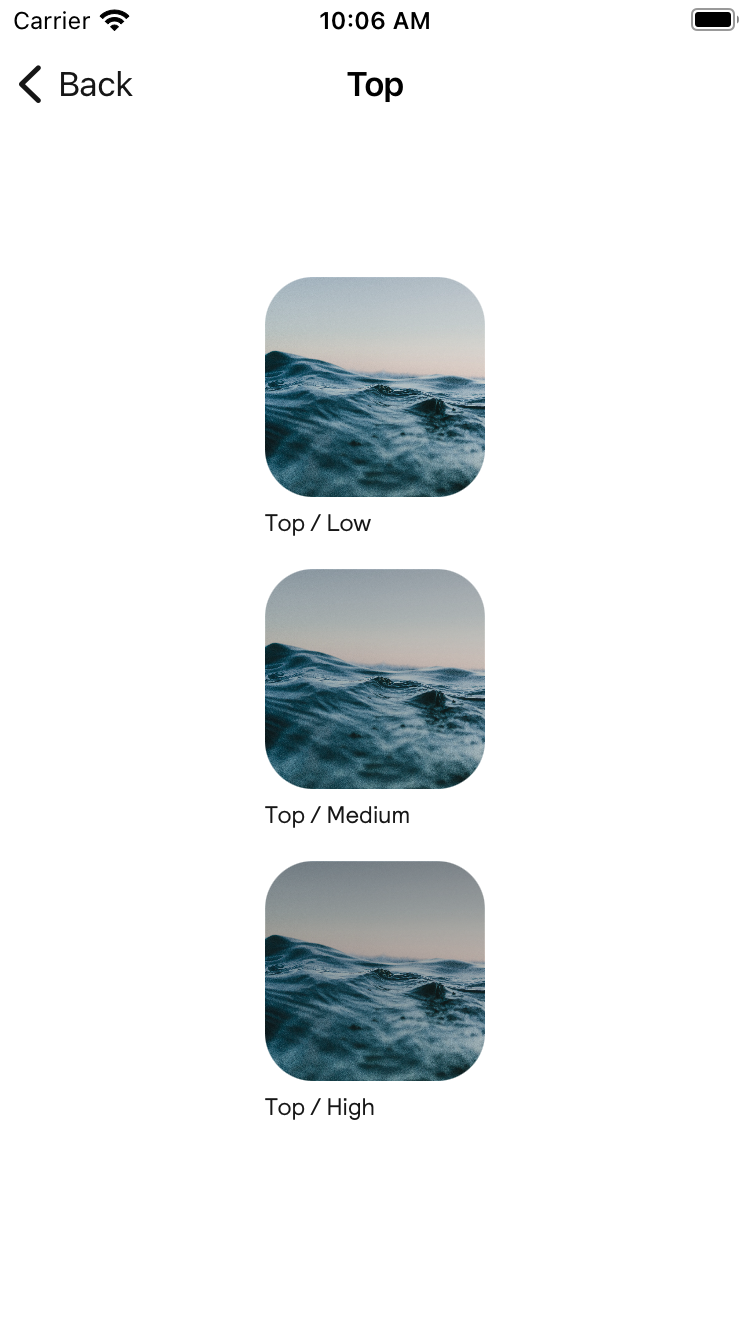
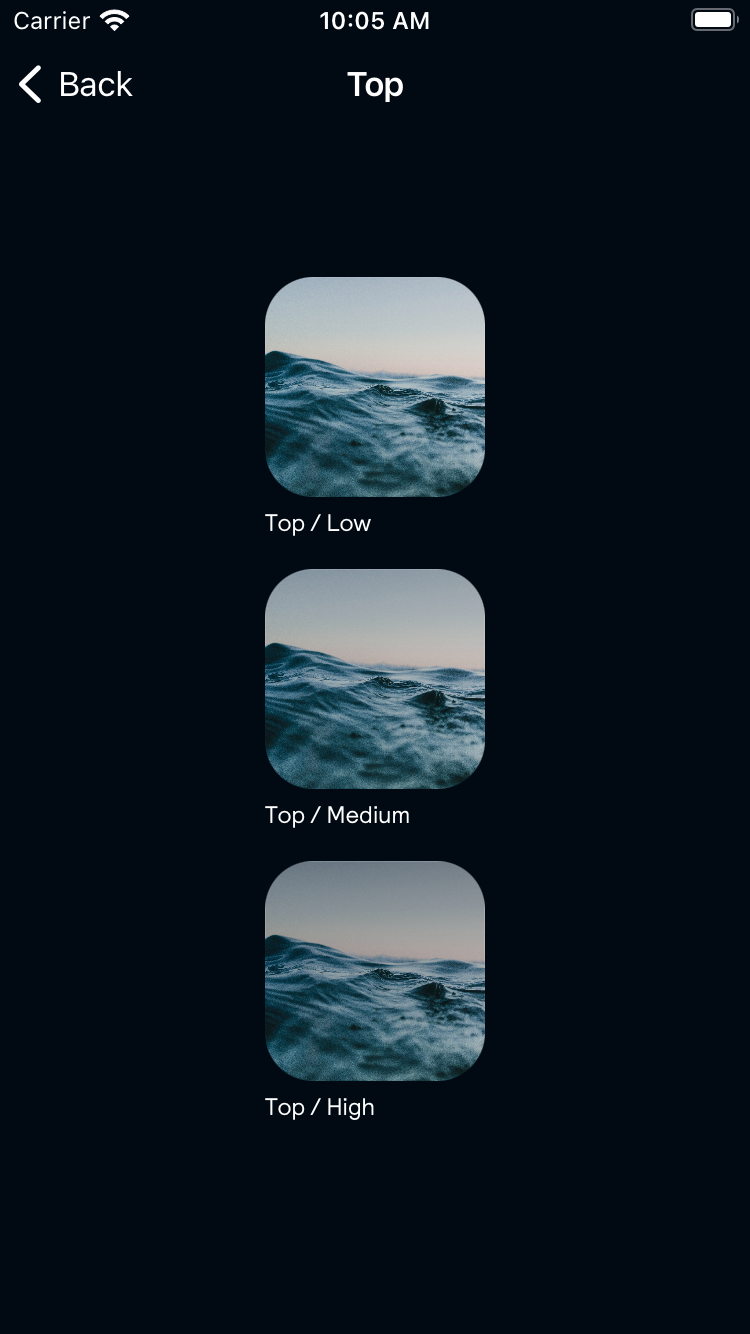
Overlays are a semi-transparent layer between an image and text to make copy easier to read.
Backpack/Overlay

Solid
| Day | Night |
|---|---|
 |
 |
Top
| Day | Night |
|---|---|
 |
 |
Bottom
| Day | Night |
|---|---|
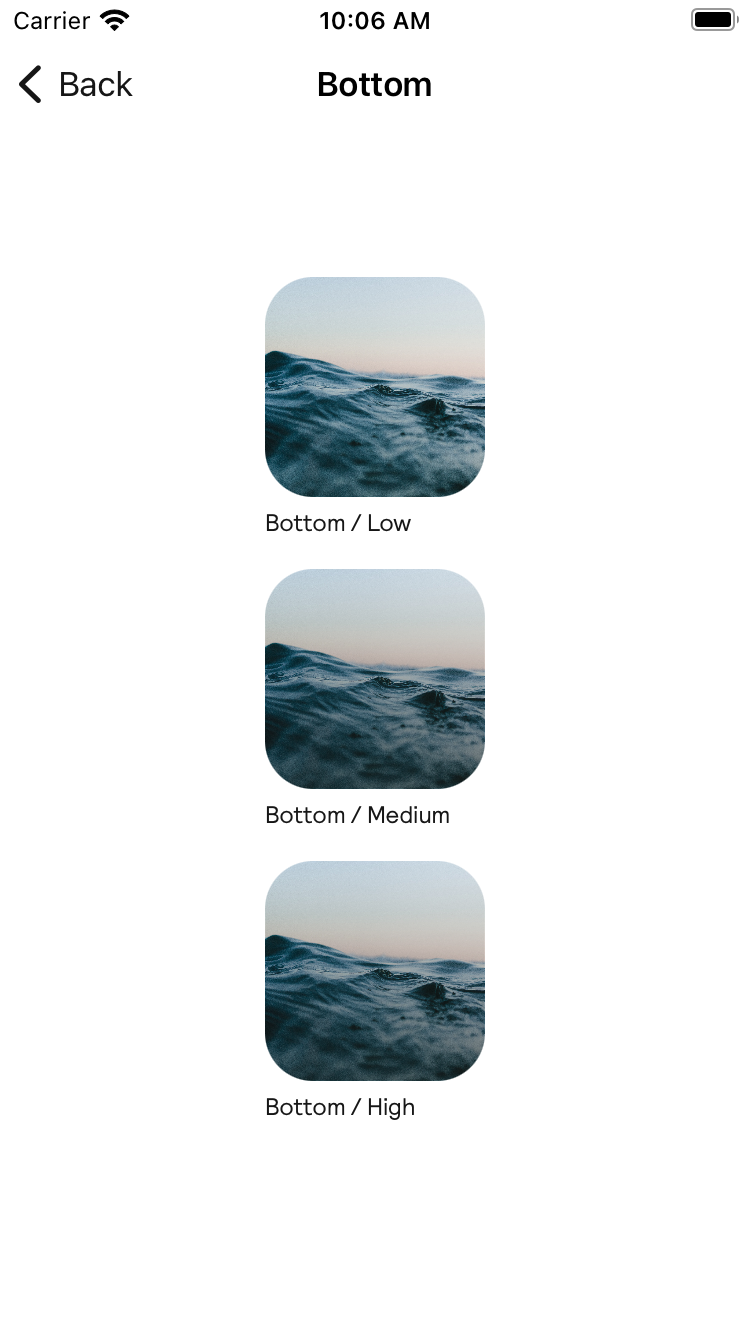 |
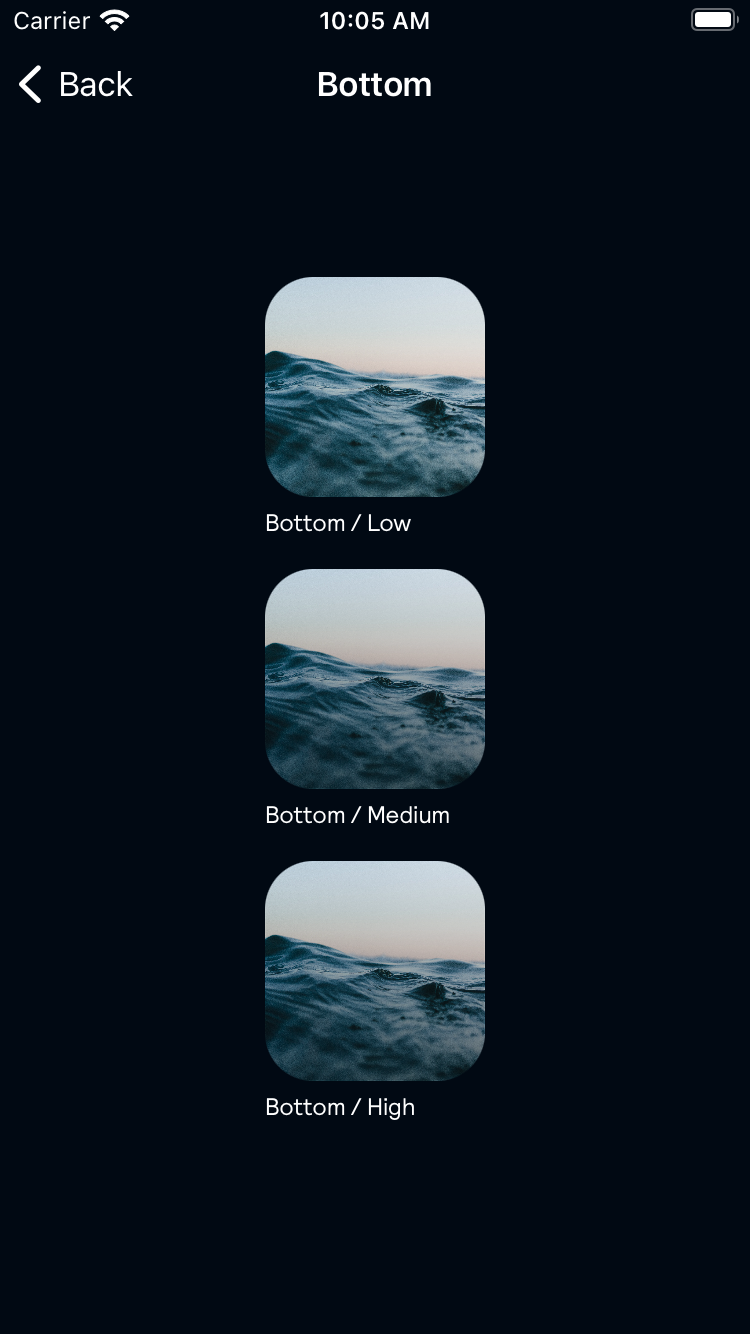 |
Left
| Day | Night |
|---|---|
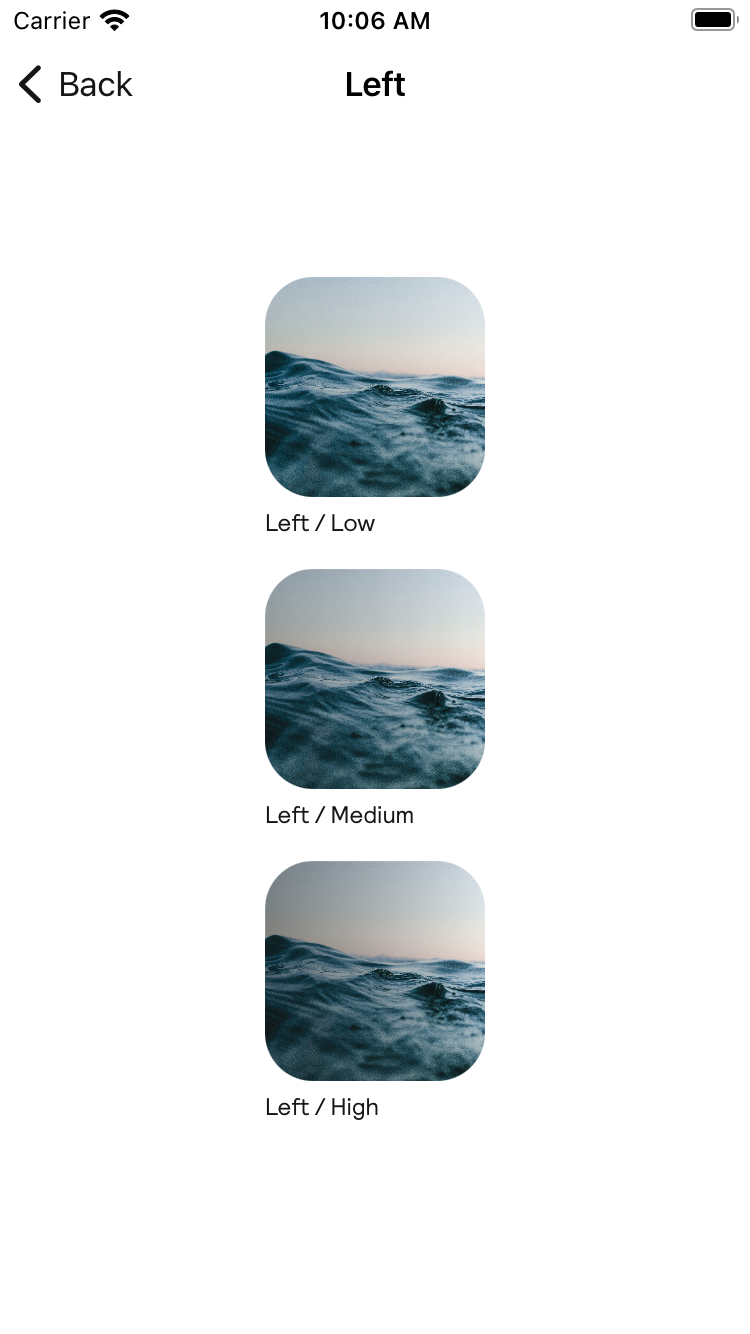 |
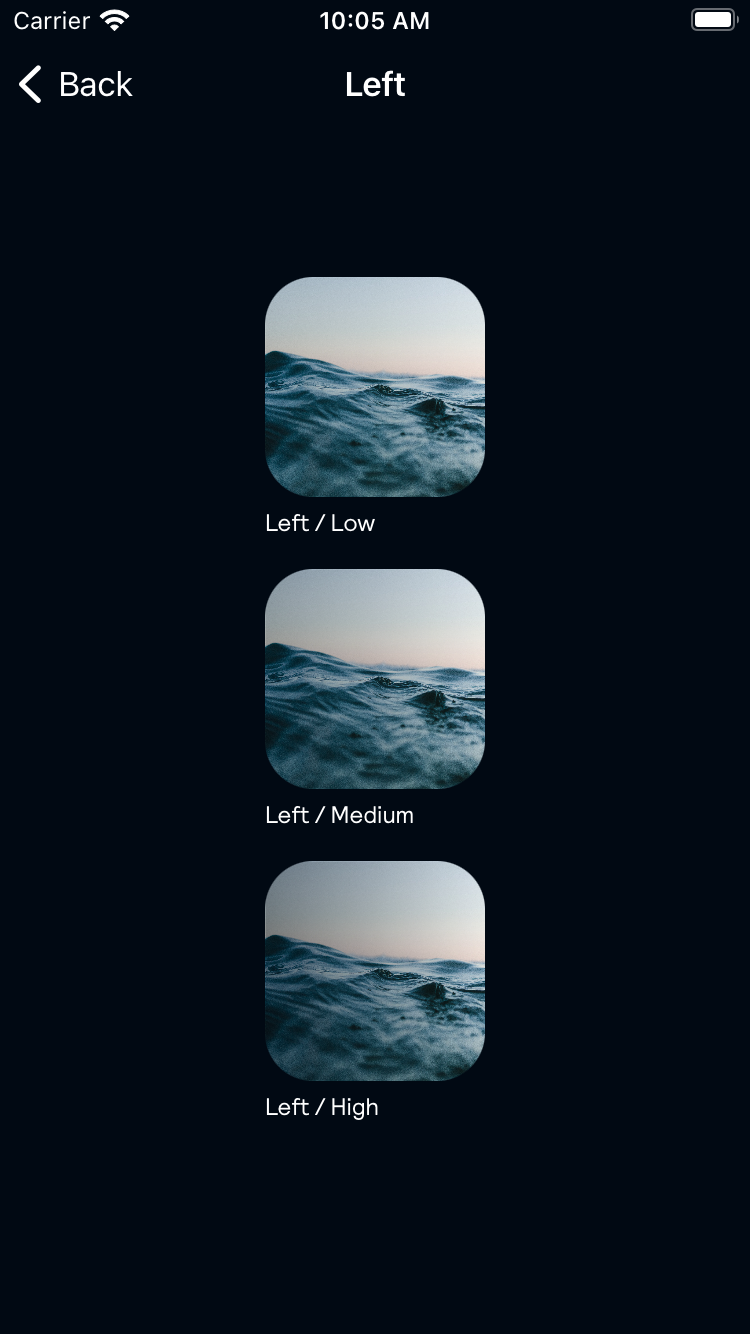 |
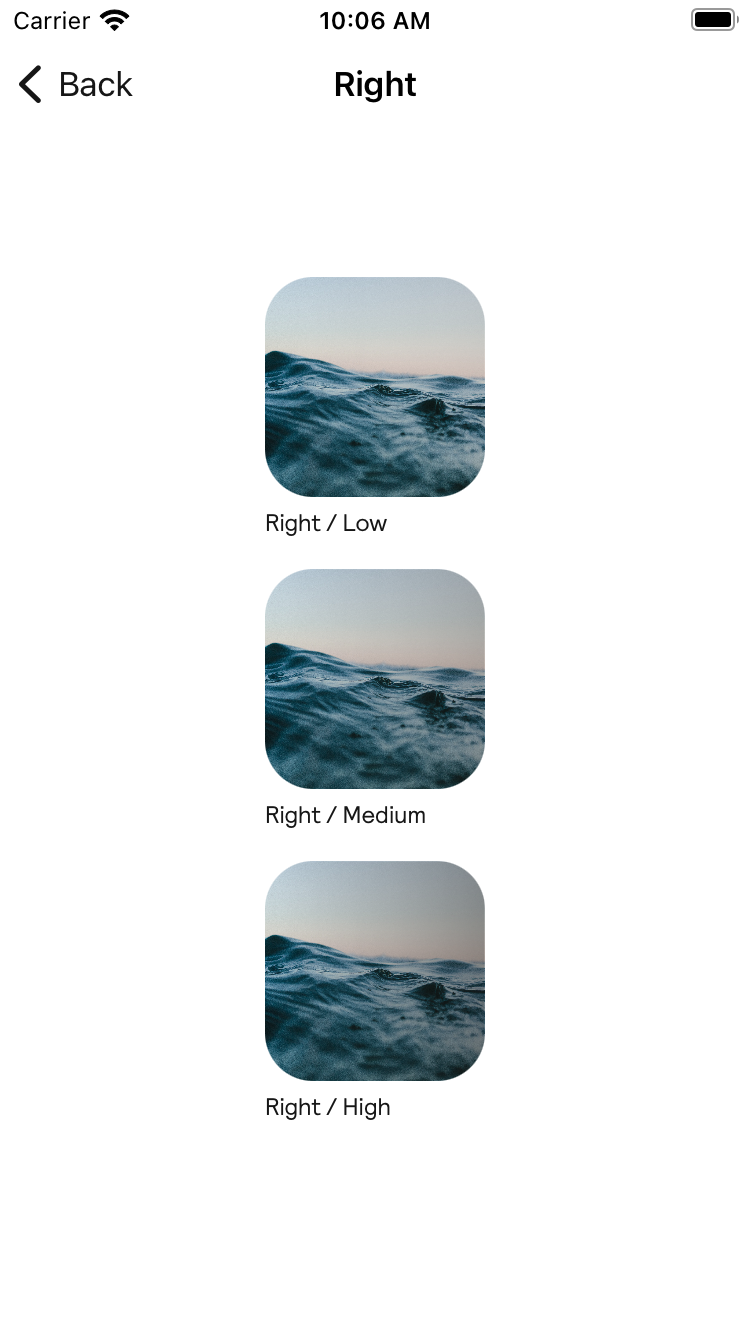
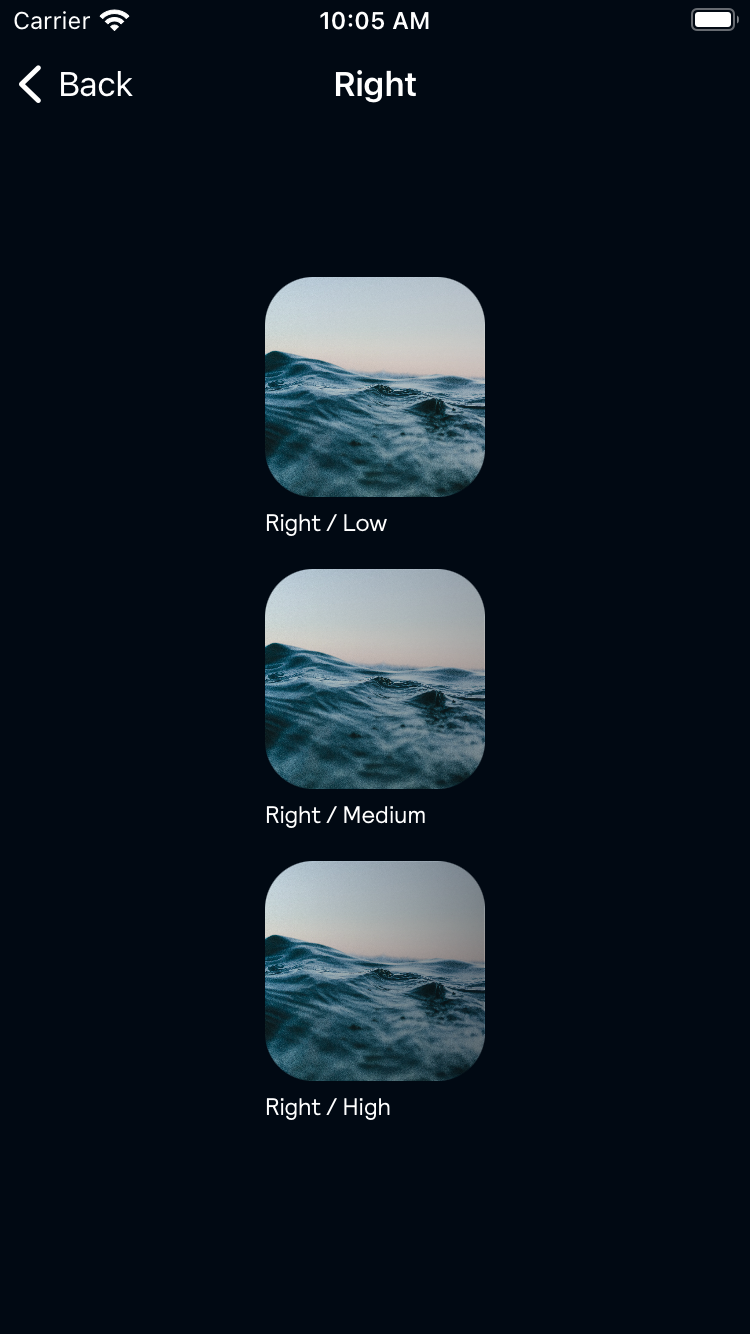
Right
| Day | Night |
|---|---|
 |
 |
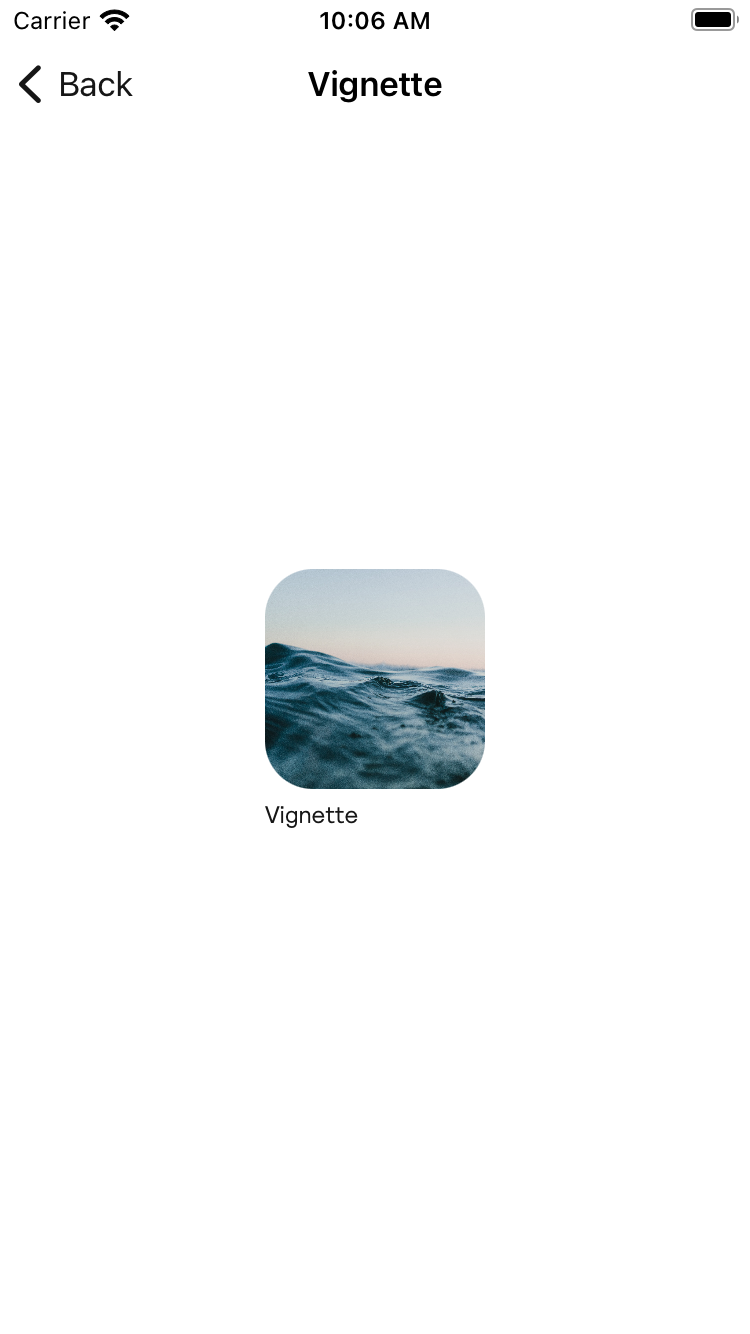
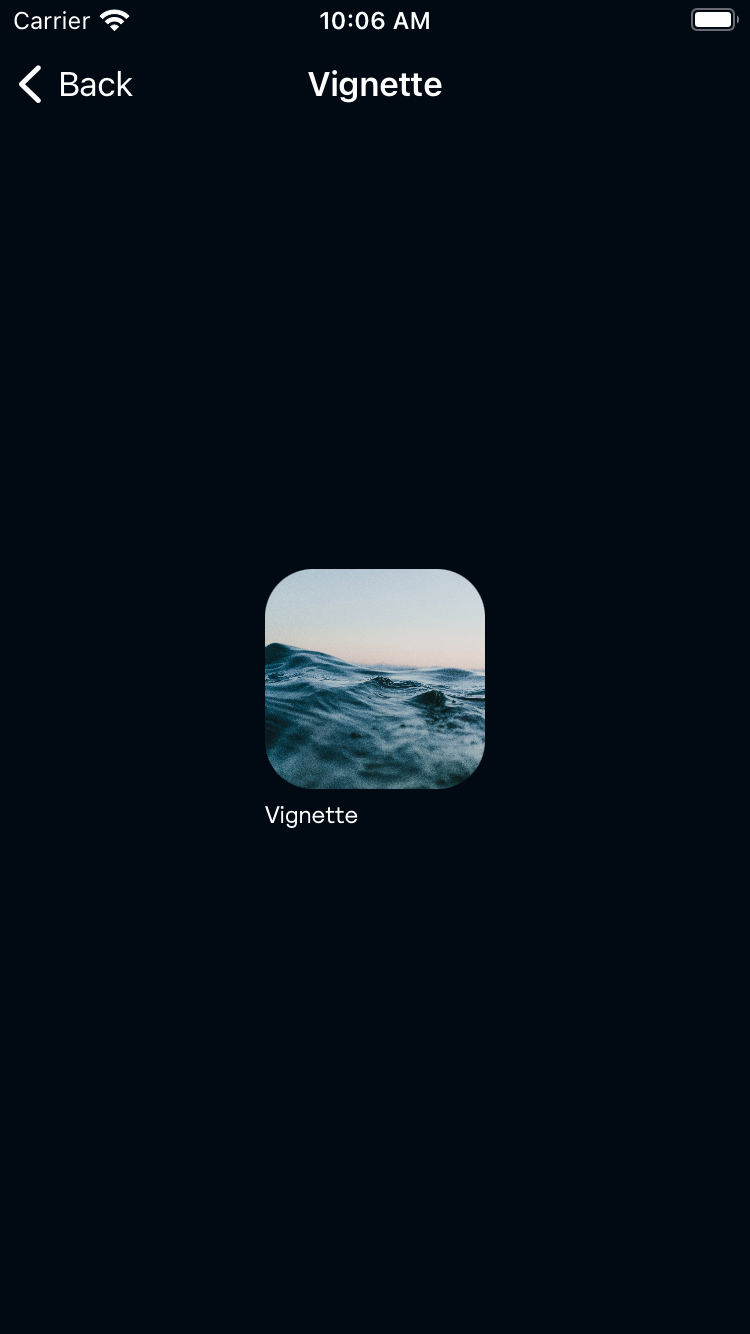
Vignette
| Day | Night |
|---|---|
 |
 |
Usage
BPKOverlay provides an easy way to place content either in-front or behind a tint layer. It ensures that, when placing text on a graphic, the text will be legible and accessible.
Swift
                                                import Backpack

                                                // This is the content that will receive the 'overlay'
                                                let content = UIImageView(image: UIImage(named: "overlay_example"))

                                                // Foreground content that will display on top of the overlay
                                                let foregroundContent = BPKLabel(fontStyle: .textHero5)
                                                foregroundContent.text = "Barcelona"
                                                foregroundContent.textColor = BPKColor.white
                                                foregroundContent.translatesAutoresizingMaskIntoConstraints = false

                                                // Overlay view, this receives your content you want to be overlaid, the type of overlay and the content on top
                                                // of the overlay
                                                let overlay = BPKOverlay(content: content, overlayType: .bottomMedium, foregroundContent: foregroundContent)
                                                overlay.translatesAutoresizingMaskIntoConstraints = false

                                                // Optionally, give the view a corner radius
                                                overlay.clipsToBounds = true
                                                overlay.layer.cornerRadius = BPKCornerRadiusLg

                                                view.addSubview(overlay)

                                                NSLayoutConstraint.activate([
                                                    // Position the overlay yourself.
                                                    // The 'content' inside the overlay will match the overlay constraints.
                                                    overlay.leadingAnchor.constraint(equalTo: view.leadingAnchor, constant: BPKSpacingBase),
                                                    overlay.topAnchor.constraint(equalTo: view.safeAreaLayoutGuide.topAnchor, constant: BPKSpacingBase),
                                                    view.trailingAnchor.constraint(equalTo: overlay.trailingAnchor, constant: BPKSpacingBase),
                                                    view.safeAreaLayoutGuide.bottomAnchor.constraint(equalTo: overlay.bottomAnchor, constant: BPKSpacingBase),

                                                    // Position the foreground content yourself.
                                                    foregroundContent.leadingAnchor.constraint(equalTo: overlay.leadingAnchor, constant: BPKSpacingLg),
                                                    overlay.bottomAnchor.constraint(equalTo: foregroundContent.bottomAnchor, constant: BPKSpacingLg)
                                                ])
Made with ❤️ by Skyscanner © 2024
© 2024 Skyscanner Backpack. Page last updated on Mar 20, 2023, 10:56